
Installing ceramic tiles in a shower: the steps behind a BonBain project

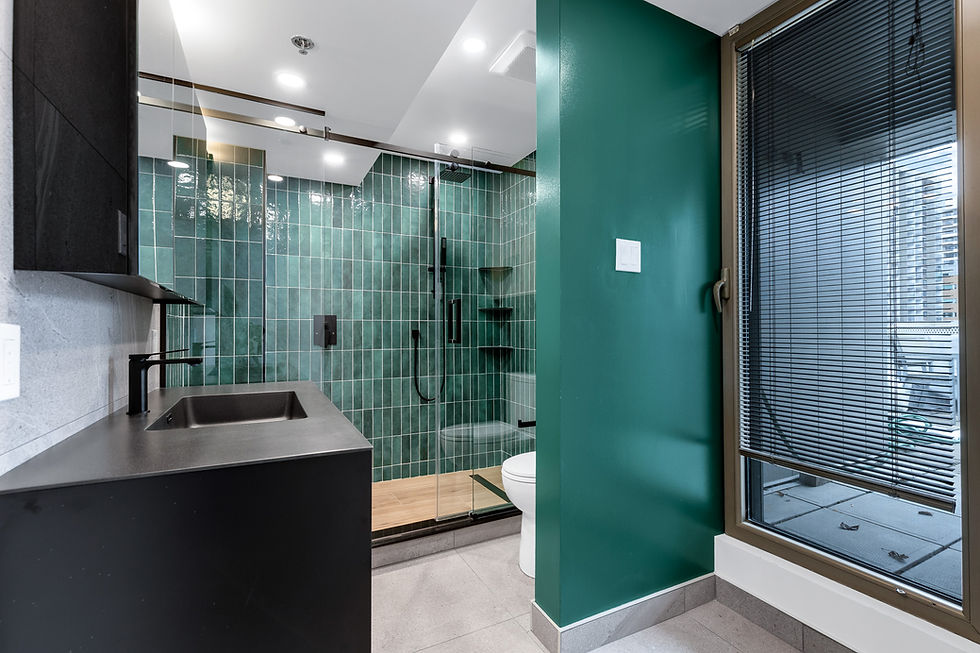
A finished shower reveals the tiles, grout, and fixtures. During the work, attention is focused elsewhere: on the lines to be respected, the pieces to be cut, and the connections to be carefully prepared.
This video, filmed on a BonBain Construction site, shows several of these steps. For homeowners considering renovating their bathroom in Montreal or on the South Shore, it provides a better understanding of what happens before the finishing touches are applied.
Draw the laying lines
At the beginning of the video, a laser projects a green line onto the shower walls. This guide helps the installer maintain the correct alignment during installation. Clips can also be seen positioned between the tiles to adjust their alignment.
With large-format tiles, grout lines and gaps between surfaces quickly become noticeable. The layout helps to verify where the tiles will end up near corners, the floor, and other shower elements. BonBain details these constraints in its guide to large bathroom tiles .
Cut the tiles to the dimensions of the construction site
The video then follows the team as they measure and cut the tiles. Each piece must fit the surface it will cover. The cuts require particular attention near corners and around elements integrated into the shower.
This is a step that often goes unnoticed once the bathroom is finished. Yet, it directly influences the regularity of the grout lines and the appearance of the joints. Therefore, the choice of tile size must be considered in light of the actual room layout, and not solely based on a sample.
Prepare the surface before applying the coating
An orange membrane is visible behind the installation area. The installer then applies the mortar before placing a tile and adjusting its position.
These images demonstrate why ceramic tiles cannot be considered in isolation. The visible tiles, the installation product, and the protective layer behind them must form a cohesive unit suitable for the shower. The video shows a portion of the work, but it cannot, on its own, fully assess all the connections that will subsequently be covered.
To understand the role of this protection, consult BonBain's article on bathroom waterproofing .
Adjust the installation around the linear drain
Towards the end of the video, the linear drain appears at the base of the wall. Its position is one of the reference points to consider when the team prepares and installs the shower cladding.
Drainage isn't just about choosing a discreet grate. You also need to consider how the floor will direct water to the drain and how the tiles will connect to it. BonBain explains the differences between possible configurations in its article "Linear Drain or Central Drain for a Shower?" .
What this video reveals about the team's work
The sequence focuses on concrete actions: checking a line, measuring, cutting, applying mortar, and adjusting a tile. Each person prepares the next. This precision contributes to the quality of the flooring that the occupants will use and maintain every day.
At BonBain Construction, bathroom renovations encompass the preparation and coordination of the work, going beyond simply choosing the finishes. The page "A Project with BonBain" provides a broader overview of how the team supports a project.
Are you planning to renovate your shower or your entire bathroom? Describe your project to BonBain to discuss your space, the desired finishes, and the work involved.

The BonBain Construction Method
A successful bathroom renovation should meet your needs and remain comfortable throughout the process. At BonBain Construction, we plan the project, coordinate the construction, and pay as much attention to your home as to the final result.
1. Understanding your daily life
We begin by identifying what no longer works: a shower that's too small, an outdated room, a lack of space, or difficult movement. The layout is designed according to your habits, your home, and the project's constraints, particularly those of a condominium.
2. Define a clear project
We discuss layout options, materials, and choices to be made before work begins. The project and estimate clearly outline what will be done. In a condominium, the necessary information for dealing with the building management is prepared according to the project requirements.
3. Plan the interventions
Renovation involves several trades. BonBain coordinates their involvement and explains the next steps, so you know how the project is progressing and who to contact with your questions.
4. Protect your home
Before demolition, we protect the floors and walkways. During the work, we strive to minimize dust and maintain a tidy site, paying particular attention when you continue to live on the premises.
5. Pay attention to the execution
From preparation to finishing touches, the team pays close attention to the key elements of a bathroom: waterproofing, alignment, fixture installation, and attention to detail. The result must be as practical to use as it is faithful to the original design.
BonBain Construction, a specialist in custom bathroom renovations in Montreal and on the South Shore, assists homeowners and condo owners who wish to transform an aging or poorly adapted space, from design to finishing touches, with projects showing the construction site and the final result.


Comments